1.Instal USB flash drivers
2.Identifying your phone's CID
3.Make a GDFS backup for safety
4.FLASH your phone
5.UNLOCK your phone
6.MOD your phone
STEP 1.
Instal USB flash drivers
-Download USB flash drivers from HERE
-Conect the USB cable to PC
-Turn off phone
-Press & hold the "C" key on the phone's keyboard and insert the USB cable into the phone.
-A popup will appear that a NEW HARDWARE was found .
-Choose the USB FLASH DRIVERS path .. for instaling them for this new hardware
- After is done plug off the phone from usb cable and remove/insert back battery.
STEP 2.
Identifying your phone's CID
Identifying your phone's CID
-Turn off the phone and remove SIM and MEMORY STICK .
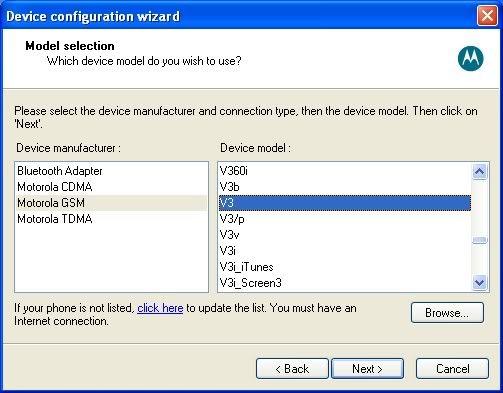
-Run Setool2 lite and choose your PHONE TYPE (W810)
-press IDENTIFY
-PRESS AND HOLD THE " C " KEY AND CONNECT THE PHONE .
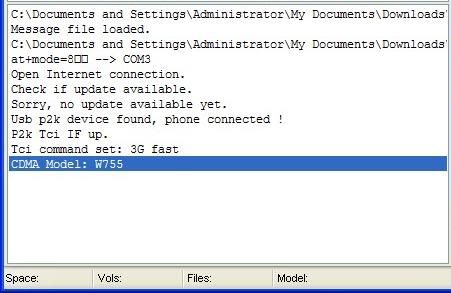
-Setool will display in the main window all the info of your phone ( FIRMWARE , CID ,IMEI ),
-Detatch the phone .
STEP 3.
Make a GDFS Backup for safety (you can do that with SETOOL or XS ++)
Make a GDFS Backup for safety (you can do that with SETOOL or XS ++)
-1.With Setool2 lite:
-Download SEtool2 lite v1.11 or Setool lite v1.08 from HERE
-Run SETOOL and At "Phone Type" Choose your phone model (W810) before you start.
-Click on "Read GDFS"
-Now turn off your phone,hold c(from phone)and insert USB cable.
-Setool lite will create a backup of your GDFS.It will be stored in the SE Tool main folder,("gdfs_[your IMEI].bin")
-Disconnect phone
-2.With XS++:
-Run XS++
-Click "Connect",turn off your phone,hold c(from phone)and insert USB cable!
-Click on GDFS then click on Backup GDFS and wait for message "Disconnected...Unplug the phone".
-Now disconnect your phone
STEP 4.
FLASH your phone
FLASH your phone
-1.With Setool2 lite:
-Download SEtool2 lite v1.11 or Setool lite v1.08 from HERE
-Download the MAIN / FS / CUSTOMIZATION for your PHONE MODEL(W810) AND YOU PHONE'S CID (from HERE).
-Turn off the phone and remove SIM card and Memory card.
-Start Setool2 lite and choose PHONE TYPE-W810
-Click on ADD and select the MAIN (.MBN file) [ex:W810_R4EA031_MAIN_GENERIC_HN_RED49.mbn] and ADD next the FS(.FBN file) [ex:W810_R4ED001_FS_MEDITERR_RED49.fbn] (they will appear both in the ADD-list)
-At MISC FILES select the CUSTOMIZATION (.ZIP) [ex:W810_CDA102555_4_R2A_Generic_MEDITERR.zip ]
-Press FLASH and setool will ask you to insert the cable into the phone .
-Quickly you PRESS and HOLD the button C on your phone's keyboard and CONNECT the usb cable.
-Setool will show then that it's starting to flash the phone.
-You can remove the usb cable only when it displays: "elapsed xxx second,phone detached".After that disconnect the phone,get battery out few seconds,reinsert battery,SIM card and memory stick and start up phone,will appear a message "Please wait"and wait!
-2.With XS++:
-Turn off the phone and remove SIM card and Memory card.
-Download XS++ from Softwares area
-Run XS++
-Click "Connect"
-Now quickly PRESS and HOLD the button C on your phone and CONNECT the usb cable
-Now mark "Flash Main Firmware" and "Flash Filesystem"
-At "Flash Main Firmware" add your MAIN (.MBN file) [ex:W810_R4EA031_MAIN_GENERIC_HN_RED49.mbn],at "Flash filesystem add FS(.FBN file) [ex:W810_R4ED001_FS_MEDITERR_RED49.fbn]
-Now mark "Customize Filesystem" and select K800 and region(same as FS,ex:if FS is like FS_MEDITERR_RED49.fbn you will select MEDTERR custom pack
-Now click "Flash" and wait for XS++ finish flashing your phone!
-Wait for message "Disconnected...Unplug the phone" and disconnect your phone,reinsert battery,SIM card and memory stick and start up phone,will appear a message "Please wait"and wait!
Step 5.
UNLOCK your phone --- with Setool ---
UNLOCK your phone --- with Setool ---
1.Make the unlock patch:
-Download Unlock patch maker form Here
-Run program.
-Click on "..."
-Go to phone MAIN folder[ex:W810_R4EA031_MAIN_GENERIC_HN_RED49] and select it!
-Click "Make patch" and close program
-Unlock patch it's on vkp folder[ex:Remove_SIM_lock_W810_R4EA031.vkp]!
2.Writing the patch to the phone only with Setool :
!!! NOTE THAT THIS STEP DESCRIBES THE WAY YOU CAN APPLY ANY PATCH TO A DB2010 PHONE NOT JUST THE UNLOCK PATCH !!!
-Run Setool.
-Select "Phone type" W810.
-At MISC FILES select the UNLOCK patch[ex:Remove_SIM_lock_W810_R4EA031.vkp]
-Press "WRITE SCRIPT"
-Press and hold "c" from phone and insert USB cable
-When the program ask to select "YES to remove patch or NO to apply patch",you press NO.
-Now you wait untill you see next message: Elapsed ___ sec and disconnect your phone!
Your phone is now UNLOCKED!
STEP 6.
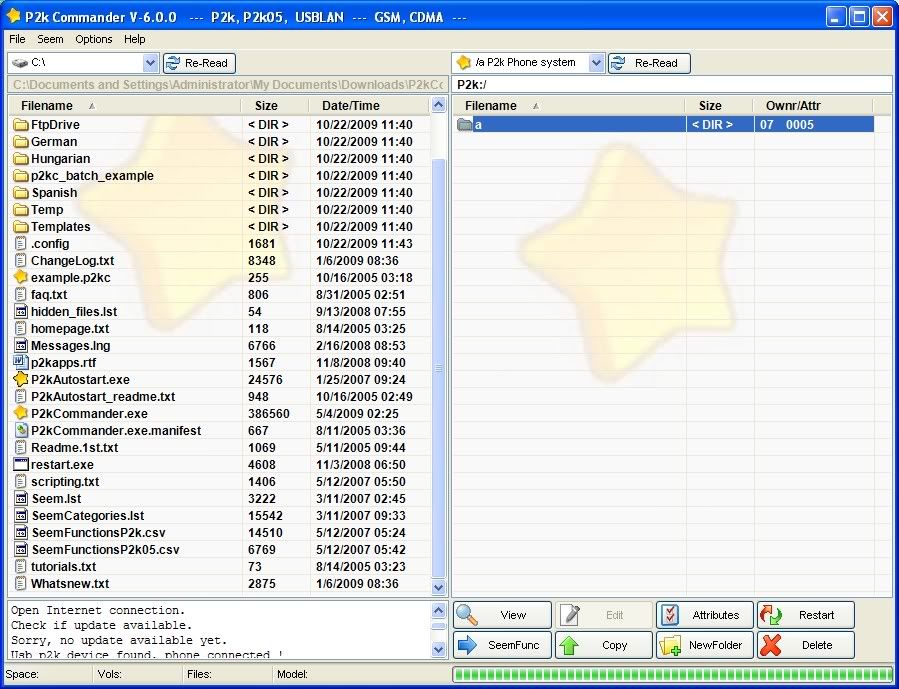
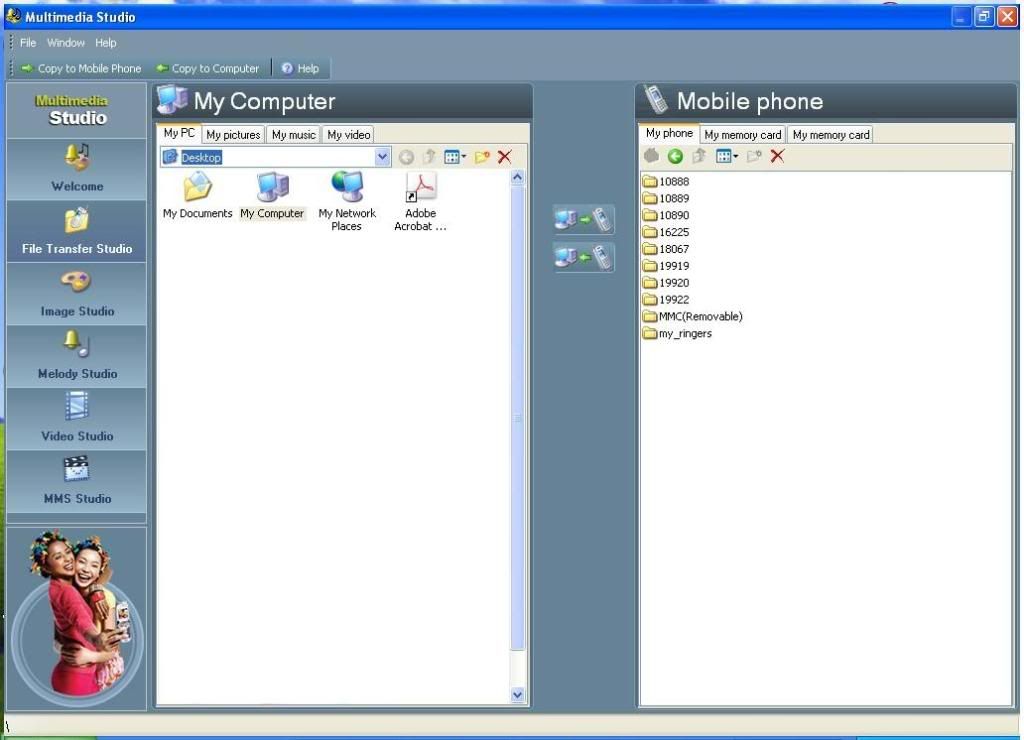
MOD your phone
MOD your phone
With XS++:
-Run XS++
-Click Connect
-Now shut down your phone,press and hold "c" and insert USB cable
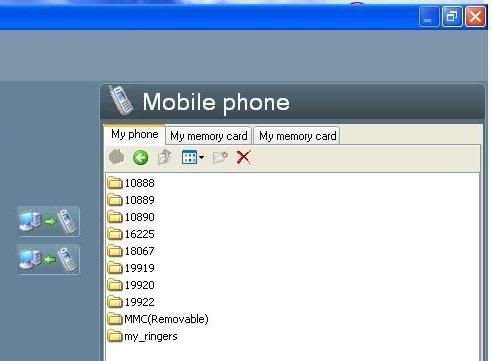
-Click on "FSX"
-Click "Start FSX" and wait
-Now you can change:
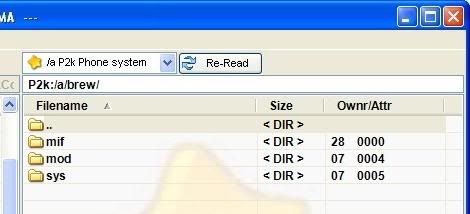
-1.Acoustics(sound drivers)
--Download acoustics (.apf extesion) FROM HERE and drag and drop them to ifs/settings/acoustic
-2.Camera driver
--Download camera drivers FROM HERE and drog and drop them to ifs/settings/camera
-3.Display driver
--Download display driver FROM HERE and drag and drop them to ifs/settings/display
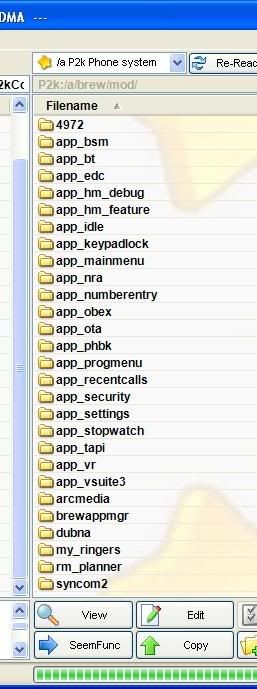
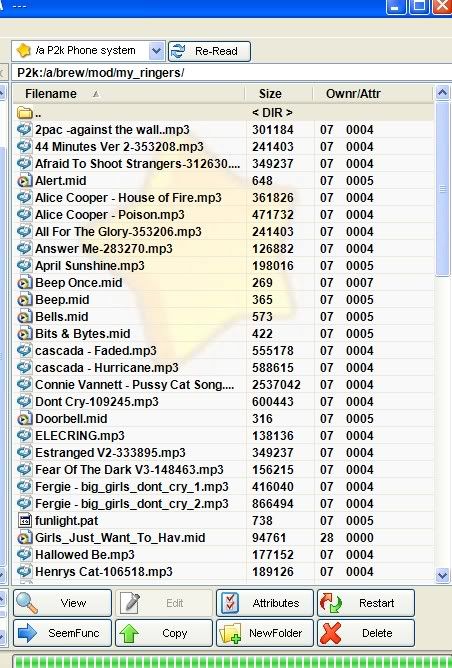
-4.Layouts
--Download layouts FROM HERE and drag and drop them to tpa/system/layout
-5.Menu
--Download menus FROM HERE and drag and drop them to tpa/preset/system/menu
Credits ©: V!r7u@l-X - www.modmy-forum.com
Thanks to:KNET and modmy-forum staff
IF YOU LIKE THE TUTORIAL SAY THANKS, AT LEAST!
Do NOT COPY THIS TUTORIAL OR PARTS OF IT WITHOUT OUR APPROVAL. IF YOU COPY THIS TUTORIAL WITHOUT US TO KNOW YOU MUST PUT A LINK TO THE ORIGINAL ONE HERE !!! OTHERWISE YOU WILL BREAK COPYRIGHT LAWS AND YOUR TUTORIAL WILL BE ERASED FROM ANY SITE !!!